View this tutorial in Scribe:
https://scribehow.com/shared/Install_Remove_Update_and_Troubleshooting_RightTool_Chrome_Extension__ghdDHZeeQxuTVvSs8-7LmQ
This guide provides step-by-step instructions on how to install, remove, update, and troubleshoot the RightTool Chrome Extension. It includes detailed instructions and screenshots for each step, making it easy for anyone to follow along. Whether you’re a new user or experiencing issues with the extension, this guide will help you navigate through the process effectively.
1. Click the Chrome pop up button (3 dots on top right of the browser, same line as URL filed)

2. Click the Extensions menu item

3. Click the Manage Extensions menu item

4. If you do not see "RightTool for QuickBooks Online" in the list of installed extensions, you can click on "Chrome Web Store" to go to the Web Store page. You can also go directly vis this URL: https://chromewebstore.google.com/

5. Search for "Righttool" and it should find RightTool for Quickbooks Online. You can also get there directly vis this URL: https://chromewebstore.google.com/detail/righttool-for-quickbooks/ocgmjfcfjilnmobeocoklcbpcanilpjd

6. Click on "Add to Chrome"

7. Click the Add extension button

8. Click the Close button
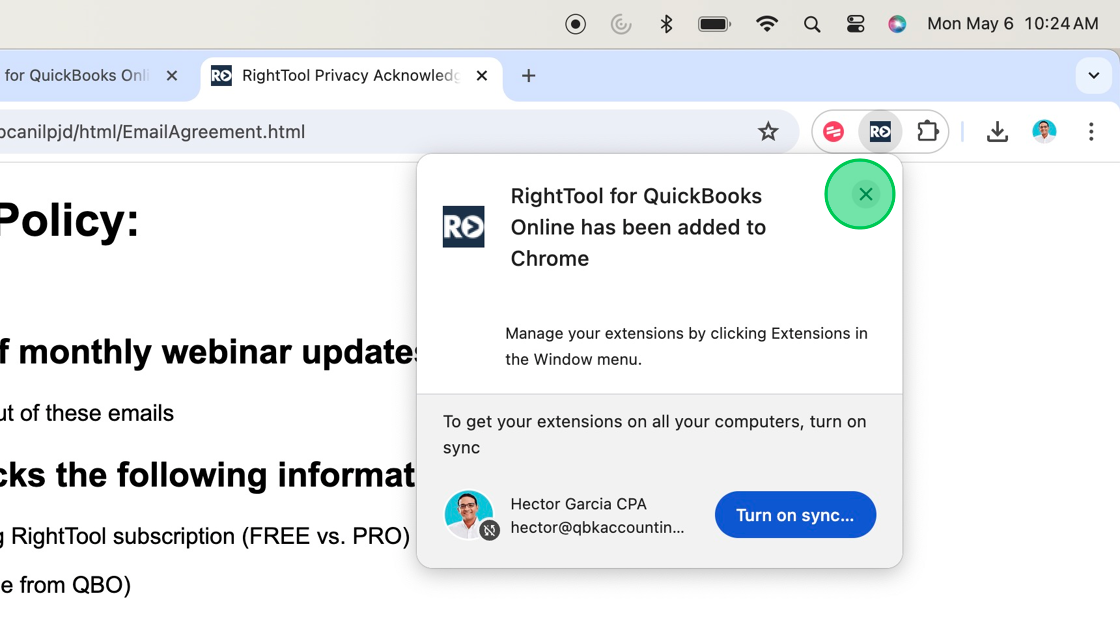
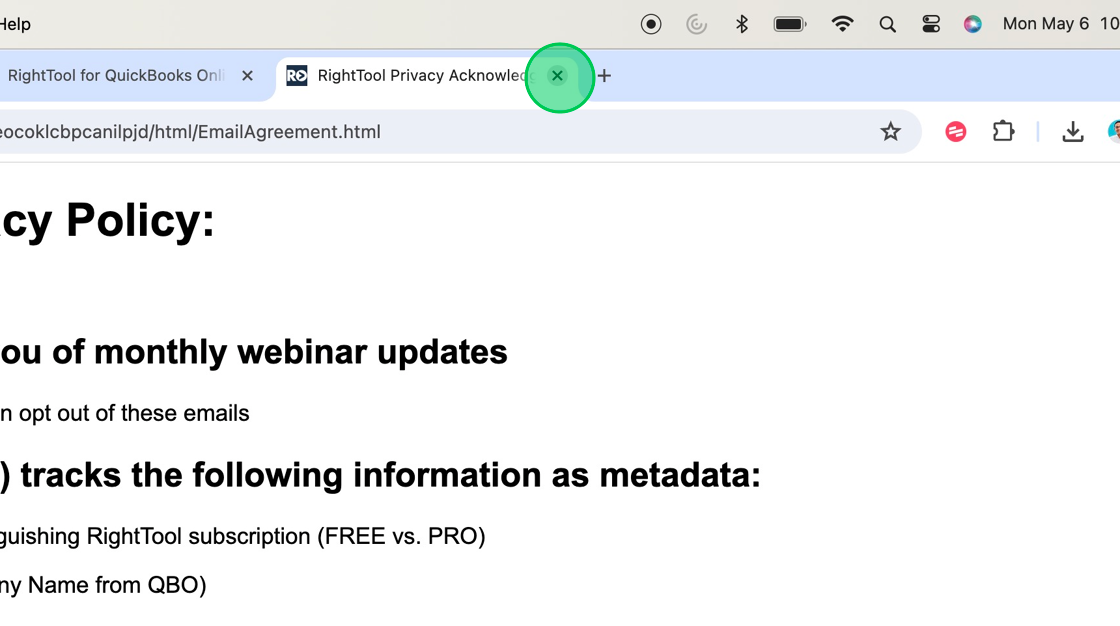
9. After reading the Privacy Policy, click the (X) close button to close the tab
10. Keep in mind that you can remove the extension at any time with a single click. Seeing the "Remove from Chrome" button is a sing that RightTool has been downloaded and installed!

11. In the future you can temporary disable RightTool by clicking the Manage Extensions menu item

12. Click the toggle on the bottom right to enable or disable the extension (this will NOT uninstall it)

13. The extension should automatically update when the developer publishes a new version, but to manually push an update first enable on the Developer mode toggle

14. And click on the Update button

15. Go back to the QuickBooks tab, and click the Reload button for all changes to apply

16. Click on the RightTool logo or right carrot to collapse RightTool (it will still function 100%, it will just be hidden from view)

17. Click anywhere on the Navy Blue collapsed bar, to expand RightTool

18. Click the Extensions pop up button

19. And then click on the "pin" icon next to RightTool for QuickBooks… extension to Pin it!

20. Once pinned, you can click on the "R>" pinned icon to open the RightTool menu popup

21. Click on "Reload the extension" if you are having issues with any of the features not working…

22. Click on "Clear Cache" or use the CTRL SHIFT ~ to clear your QBO-only related cache and refresh your browsers cache

23. You can also log into your PRO account (if the extension is showing you are on the FREE version)

24. Enter your RightToolPro.com username and password. If you can’t login you can use "forgot username" or "forgot password" to go through reset process

25. Once logged in, you should see "Your account is up to date! All PRO features…" Which means you RightTool Pro should be activated

26. Go back to your QBO account, and click the Reload button to refresh RightTool

27. You should be able to see right under the RightTool logo, you version: "FREE, PRO, or PRO FIRM"

28. To backup you RightTool settings, click on the Settings Button (wrench and screwdriver icon)

29. Click on Help on the bottom left of the left-sided RightTool settings

30. Click on Export Settings, Export Favorites, Export Scripts, and/or Export Company Switch

31. And COPY the exported code into an word/doc file, maybe email it to your self as a backup.

32. Top load your exported settings, paste your backup into the appropriate box

33. And click on Import, to load those settings

34. Click the OK button

35. Click the OK button

36. Go back to your QBO Tab, and click the Reload button to reset your RightTool and see it with the new settings

37. To allow RightTool to work in incognito mode, you can RIGHT-CLICK on the "R>" pinned icon

38. Click the Manage Extension menu item

39. scroll down to the line labeled "Allow in Incognito"

40. Enable the toggle
